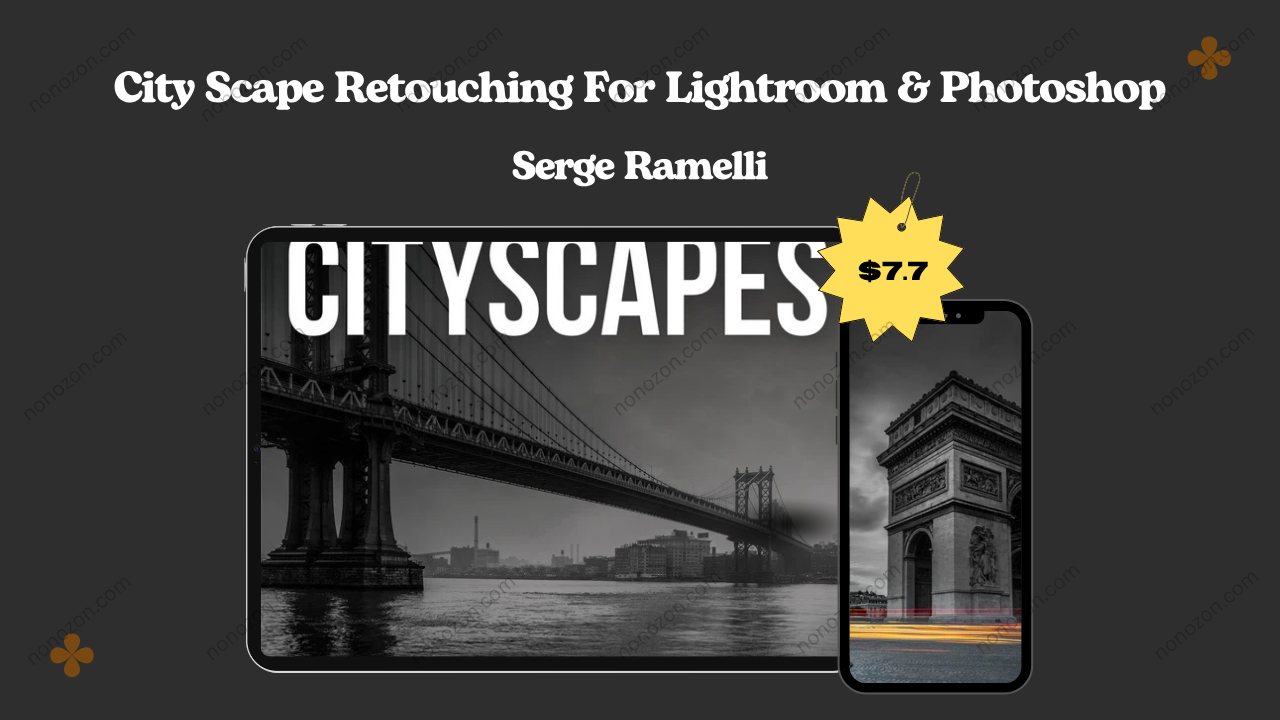
City Scape Retouching For Lightroom & Photoshop
by Serge Ramelli
Cityscape Retouching for Lightroom: A Comprehensive Review
Check proof of content here:
Cityscape photography merges creative vision with technical precision, capturing the pulse and architecture of urban spaces. Whether it’s the serene hues of dawn, the vivid shades of dusk, or the striking geometry of modern structures, a well-crafted cityscape image speaks volumes. Yet, the true magic often happens during the editing phase. In this review, we explore Serge Ramelli’s expert approach to refining cityscape photos using Lightroom and Photoshop. From vital techniques to workflow strategies and editing tools, this guide will help elevate your urban photography.
Key Techniques in Cityscape Photography
Cityscape photography relies heavily on the foundational techniques that can make or break an image. The interplay of composition, lighting, and detail plays a pivotal role in capturing the charm and character of urban landscapes. For instance, while the vibrant hues of a sunset may captivate the viewer's eye, it’s essential that the photograph's composition directs attention toward the city’s architectural wonders.
Mastering Composition for Dynamic City Shots
Effective cityscape photography hinges on thoughtful composition. Consider the frame your canvas, and each element within it an intentional stroke. These proven techniques enhance visual storytelling:
Rule of Thirds: Position focal points along the thirds grid intersections to create harmony and guide the viewer’s gaze.
Leading Lines: Use natural lines—streets, railings, or rows of windows—to direct attention to your main subject.
Uncommon Angles: Break away from standard views. Bird’s-eye shots or dramatic low angles can refresh familiar city scenes.
Framing and Depth: Use foreground elements to build depth, drawing viewers into the urban environment.
Keep It Clean: Eliminate unnecessary distractions that dilute the story. Crop out visual noise for clarity and impact.
Visual Weight: Distribute subjects and negative space evenly to maintain equilibrium across the image.
Incorporating these methods brings your cityscapes to life, transforming them into narratives rich in structure and emotion.
Importance of Lighting in Urban Environments
Lighting defines mood and dimension in urban photography. Without careful consideration, even the most architecturally rich scene can fall flat. Key lighting principles include:
Golden Hour Magic: Early morning and late afternoon light adds warmth and texture, enhancing urban scenes naturally.
Color Harmony: Be mindful of the mix between natural and artificial lighting to maintain mood consistency.
City at Night: Long exposure shots under streetlights and neon glow can turn busy streets into painterly works.
Avoiding Blown Highlights: Especially in night shots, manage bright areas to retain detail—ND filters help during daytime.
Timing Is Everything: Sometimes, the best light arrives with patience. Don’t rush your frame—wait for the ideal moment.
Serge Ramelli underscores how vital light is, both on-site and during post-processing. By learning to “see” light, you become a more intentional photographer.
Focusing on Details: Textures and Patterns
Urban environments brim with intricate details that add dimension and richness to your shots. Here’s how to make those details stand out:
Capture Texture: Emphasize contrasts between materials—like gritty concrete and reflective glass—to add visual interest.
Highlight Patterns: Repetition of architectural elements—windows, grids, bricks—can add rhythm to your composition.
Get Closer: Zoom in on structural fragments for dramatic, often abstract results.
Refine in Post: Use the clarity and texture sliders in Lightroom to accentuate fine details subtly.
Boost with Contrast: Carefully enhance contrast to make patterns pop without overwhelming the viewer.
By focusing on these often-overlooked features, your images become immersive, revealing the soul of the city through its surfaces.
Instant Download City Scape Retouching For Lightroom & Photoshop by Serge Ramelli
Essential Tools for Lightroom Retouching
In the realm of cityscape retouching, Adobe Lightroom stands as an essential tool for photographers, allowing for seamless adjustments that can bring out the best in your images. Here’s an overview of key features in Lightroom that are beneficial for urban landscapes:
- Basic Panel: This is your starting point for exposure, contrast, and color adjustments. The sliders in this panel allow for intuitive fine-tuning of your image's overall look and feel.
- HSL Panel: The Hue, Saturation, and Luminance (HSL) settings allow for precise control over individual colors. Adjust specific colors in your images to make certain aspects pop or harmonize better with others.
- Tone Curve: This tool enables you to selectively manipulate tonal ranges in an image. Advanced users can use it to create more dynamic contrast and refine shadows or highlights.
- Adjustment Tools: Utilization of gradient filters, radial filters, and the adjustment brush gives you exceptional control over localized adjustments. This allows for enhancing specific areas, such as emphasizing the sky or lifting shadows on buildings.
- Presets: One of Lightroom's highlights is the ability to create and use presets, which apply a set of adjustments to images, saving time and maintaining a consistent editing style throughout a project.
Overview of Lightroom Features for Cityscapes
Lightroom provides a robust toolkit ideal for enhancing city images. Mastering its features allows for a more efficient and polished workflow:
Basic Panel: Begin with exposure, highlights, and shadows to shape the tonal range of your photo.
HSL Adjustments: Adjust specific colors individually to emphasize certain moods or visual themes.
Tone Curve: Fine-tune light and shadow to craft dynamic images with nuanced contrast.
Selective Tools: Gradient and radial filters, plus the adjustment brush, allow you to target specific regions precisely.
Presets: Save time and develop a cohesive editing style by applying pre-defined settings across a series of shots.
Ramelli’s tutorials guide users through these features in depth, showing how to extract the full potential from every cityscape frame.
Recommended Presets for Enhancing City Images
Understanding Lightroom's capabilities within the context of cityscapes can dramatically improve your workflow and output quality:
- Importing and Organizing: As your cityscape collection grows, keeping it organized becomes crucial. Use collections and folders wisely to categorize your images effectively.
- Batch Processing: Leveraging batch processing can save time during the editing phase. If multiple images were shot under similar lighting conditions, one adjustment can be copied across several selections at once.
- Lens Corrections: Use lens correction profiles to fix common distortion issues arising from wide-angle lenses. This ensures that straight lines in the architecture appear as they should, preserving the integrity of your composition.
- Noise Reduction: Urban environments can present challenging noise levels, especially in low-light situations. Use the noise reduction sliders to clean up your images nicely, particularly when shooting at higher ISO settings.
- Exporting Options: Lastly, mastering Lightroom’s exporting settings allows you to optimize your photographs for various platforms, whether you’re sharing on social media, printing, or submitting to competitions.
Serge Ramelli’s cityscape retouching tutorials delve deeply into these features, providing step-by-step guidance on transforming your images through Lightroom's robust toolkit. Mastery of these features propels photographers towards creating urban narratives that resonate with depth and clarity.
Importance of Professional Camera Equipment
While creativity matters most, professional gear can vastly improve the quality of your cityscape work. Key considerations include:
Sensor Capabilities: Full-frame sensors gather more light, especially beneficial in low-light city scenarios.
Lens Quality: Wide-angle lenses with low distortion capture vast cityscapes with clarity.
Stable Support: A durable tripod is crucial for long exposures, especially at night.
RAW Shooting: Capturing in RAW ensures maximum flexibility for color correction and detail recovery.
Dynamic Range Performance: Cameras with high dynamic range excel at preserving detail in extreme lighting situations.
Ramelli emphasizes investing in reliable equipment to complement your skillset, helping you deliver sharper, more expressive images.
Step-by-Step Retouching Process
The retouching process in cityscape photography encompasses various techniques and tools that will amplify the quality of your images. Serge Ramelli's systematic approach combines both Lightroom and Photoshop to ensure a thorough enhancement. The fundamental steps usually include:
Initial Import and Organization of RAW Files
Import Efficiently: Begin by loading your RAW images into Lightroom for maximum control in post-processing.
Select Favorites: Use flags and ratings to highlight the best compositions.
Smart Collections: Group your shots thematically or by location to streamline project organization.
Backup Strategy: Use both cloud and physical storage options to safeguard your work.
Basic Adjustments: Exposure and Color Corrections
Refine Exposure: Adjust brightness and contrast in the Develop panel to bring out hidden potential in your images.
Balance Color: Set the right white balance and use vibrance for subtle color enhancement without going overboard.
Sharpening: Use the detail panel to enhance edges, particularly on architectural features. Always check at 100% zoom.
Saturation Control: Don’t overdo it—city scenes can easily look unnatural with excessive saturation.
Following this process ensures your edits are clean and intentional, setting the stage for more advanced refinement.
Advanced Techniques: Using Masks and Gradients
Delving into more advanced techniques, using masks and gradients in Photoshop can dramatically enhance your cityscape images:
- Adjustment Layers in Photoshop: Transfer your image from Lightroom to Photoshop for advanced adjustments. Use adjustment layers to selectively modify exposure, levels, and curves, ensuring non-destructive editing.
- Masking Techniques: Employ layer masks for selective editing. This allows you to apply contrast and color adjustments to specific areas without affecting the entire image.
- Gradient Tool Utilization: Use gradients to create smooth transitions across adjustments. For instance, you may want to enhance the sky without affecting the buildings below, allowing for more dimensional images.
- Blending Exposure Shots: If working with multiple exposures, employ blending techniques to balance highlights and shadows effectively using layer blending modes.
- Final Refinements: Pay attention to details during the final stage of editing. Fine-tune any areas needing attention via localized correction tools to bring out the essence of your urban landscape.
Utilizing Serge Ramelli’s approach, these advanced techniques enhance your cityscape’s dynamism, breathing life into mere photographs and creating visually striking compositions.
Popular Cityscapes to Inspire Your Editing
In the world of cityscape photography, inspiration can be drawn from iconic skylines and landmarks. Some notable urban landscapes to explore include:
Exploring Iconic Skylines: New York, Chicago, and San Francisco
- New York City: The skyline of NYC features iconic structures such as the Empire State Building and One World Trade Center. Photographers can capture the vibrancy of the city through strategic framing of these iconic landmarks.
- Chicago: Known for its unique architectural styles and reflections on Lake Michigan, the Chicago skyline allows for stunning captures at sunrise and sunset, where natural light interacts beautifully with polished glass façades.
- San Francisco: The Golden Gate Bridge provides a picturesque backdrop for any cityscape shot. The city’s hills and fog contribute to the mythical quality of its skyline, making it a compelling subject for photographers.
Utilizing Local Landmarks for Better Compositions
Integrating local landmarks within your cityscape compositions not only provides context but also adds a recognizable essence to your photographs. Incorporate elements that resonate with the local culture or history. Here are some quick tips:
- Focus on Landmark Features: Use landmarks as focal points in your images while allowing the surrounding urban environment to unfold naturally in the background.
- Utilize Leading Lines: Guiding viewers’ eyes through your compositions via streets or walkways leading to famous city landmarks emphasizes the connection between the urban landscape and iconic structures.
- Dynamic Perspectives: Try unconventional angles or juxtapose local architectural styles with modern developments. This can create compelling contrast and engage viewers within the image.
- Highlight Cultural Street Art: Urban street art, murals, or sculptures can enrich your compositions while showcasing local talent. This creates storytelling elements that connect viewers emotionally to the city.
Capturing the Night: Best Practices for Night Shots
Capturing cityscapes at night opens up a realm of possibilities, transforming ordinary settings into spectacles of light and color. Here are best practices for night photography:
- Shooting Settings: Start with a low ISO to minimize noise. Use a wide aperture (e.g., f/3.5 - f/5.6) to allow more light while also experimenting with longer shutter speeds to capture the city in its fully lit glory.
- Long Exposures and Light Trails: Utilize long exposures to capture light trails from cars or trains, creating dynamic motion effects that add excitement to your nightscapes.
- Utilize a Tripod: A robust tripod is indispensable for stabilizing your camera during slow shutter speeds. Pair it with a remote shutter release to reduce any risk of camera shake while shooting.
- Pre-Planning Locations: Scout optimal locations ahead of time, considering factors like vantage points and surrounding light sources. This allows you to maximize your time once night falls.
- Post-Processing Tips: Pay special attention to shadows and highlights during the retouching phase in Lightroom. Using masks can help elevate lighted areas while retaining detail in darker segments of your image.
Enhancing Your Workflow
Taking control of your editing workflow is essential for productivity and quality in cityscape photography. Here are some tips to enhance efficiency:
Time-Saving Tips for Efficient Retouching
- Use Keyboard Shortcuts: Familiarize yourself with Lightroom and Photoshop keyboard shortcuts. This will expedite your editing process and make navigating between tools seamless.
- Batch Processing with Presets: Save time by applying presets to similar images in your collection. This consistency not only aids in quicker edits but also helps maintain your visual style across multiple shots.
- Organized Collections: Structuring your photo library into easy-to-navigate collections can improve your workflow significantly. Spend less time searching for images and more time editing.
- Streamline Communication: If working with clients, consider establishing a clear communication flow regarding their preferences during the editing phase. This minimizes back-and-forths and speeds up the overall process.
- Regularly Backup Work: Set routines to back up images and edits consistently to prevent data loss. Use external hard drives or cloud storage options to secure your projects.
Creating a Consistent Editing Style
- Defining Your Style: Identify the themes or moods you wish to convey in your cityscapes. Consistency in tone, hues, and processing techniques can significantly impact how your photography is perceived.
- Utilizing Presets for Cohesion: Develop or purchase presets that reflect your preferred styles. Using these as a base for your edits can help maintain a consistent look across your body of work.
- Use of Color Consistency: Set targets for consistent color grading throughout your work. Whether leaning toward cooler tones or warm, sunlit shades, maintaining consistency can create a cohesive series of images.
- Learning from Others: Study how other photographers achieve a consistent look, incorporating techniques or workflows that resonate with your vision.
- Experimentation and Flexibility: While consistency is key, allow room for experimentation within your style. This can lead to personal breakthroughs in how you approach cityscape photography.
Utilizing Tutorials for Continuous Learning
Engagement in continuous learning is vital for any photographer. Leveraging online resources can exponentially enhance your skill set.
- Diverse Learning Platforms: YouTube, online courses, and photography forums provide ample resources for everything from editing tips to advanced shooting techniques, helping photographers elevate their craft.
- Study Editing Techniques: Watching tutorials from seasoned professionals, such as Serge Ramelli, enables you to absorb editing insights that can refine your cityscape retouching processes.
- Practice Regularly: Combine your learning with practical shooting and editing sessions to actively incorporate newly learned techniques into your workflow.
- Seek Feedback: Join photography groups to share your work and receive constructive critiques, which can guide you in honing your skills further.
- Engagement with Communities: Actively participating in photography forums and local clubs can expose you to new ideas and fresh perspectives, fostering creativity and collaboration.
Community and Resources
The photography community is filled with incredible resources and opportunities for growth. By engaging with various platforms and communities, photographers can find inspiration, support, and valuable learning experiences.
Online Forums and Groups for Cityscape Photographers
- Photography Forums: Be it DPReview or 500px, online forums are hubs of interaction where photographers exchange knowledge, provide critiques, and discuss techniques.
- Facebook Groups: Numerous groups focused on photography allow photographers to share images, seek feedback, and collaborate. Engaging with these communities can lead to creative partnerships and friendships.
- Workshops and Meetups: Explore local opportunities for participating in or hosting workshops. Engaging with photographers in live settings can deepen skills and foster a supportive environment.
Recommended YouTube Channels for Photographic Learning
- Serge Ramelli: His channel is a treasure trove for photographers seeking to refine their editing skills, particularly in cityscape photography. His engaging teaching style makes complex techniques approachable for learners of all levels.
- Tony & Chelsea Northrup: Covering a range of topics from equipment to post-processing, their content is informative and personable, catering to both beginners and seasoned photographers.
- Fstoppers: A wealth of collaborative learning, Fstoppers offers insights into various aspects of photography, including engaging camera techniques and industry developments that can enhance urban photography.
Engaging with Local Photography Workshops
- Community Colleges: Many community colleges offer classes focused on photography, including targeted workshops on cityscape techniques. These afford opportunities for hands-on learning with experienced instructors.
- Local Meetups: Engaging with local groups can lead to collaborative shoots, critiques, and shared learning experiences that strengthen both skills and community connections.
- Workshops by Professionals: Many established photographers lead workshops, sharing insights that not only elevate skills but also foster a creative community and provide networking opportunities.
By immersing yourself in the rich tapestry of knowledge and resources available, you can enhance your understanding of cityscape photography and editing. Serge Ramelli’s tutorials and various platforms facilitate continuous learning and will inspire you to grow your art.
Cityscape photography and retouching represent an intricate balance of technical skills and artistic vision. Through the lessons learned from Serge Ramelli and various community resources, you can refine your techniques, embrace creativity, and develop a discrete and captivating photographic style. Whether you’re capturing iconic landmarks in stunning light or enhancing urban textures in your post-processing, the world can be yours to frame one breathtaking image at a time.
Related products

Puerto Rico Influencer Event 2 | Photography Podcast Interviews
by Gary Martin
$69.00
$7.70